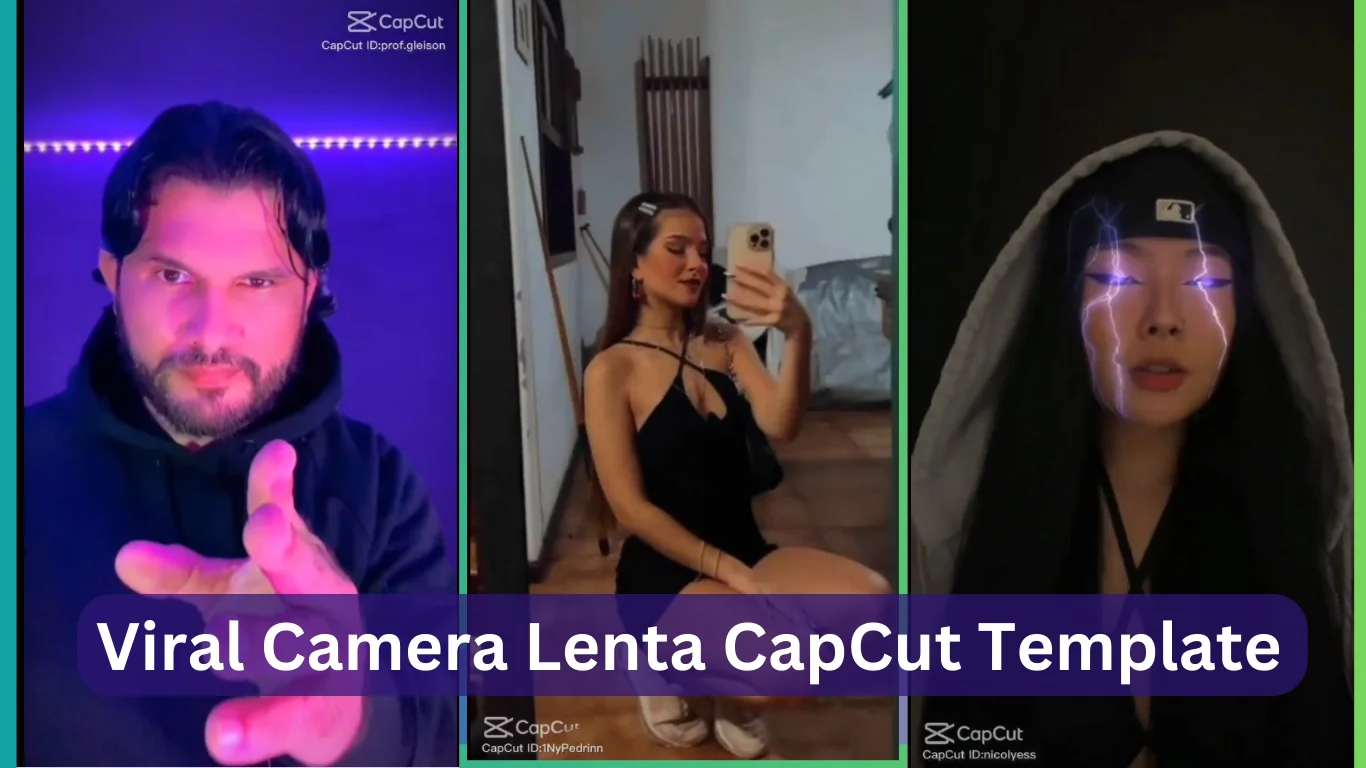
Forward-reverse video edits have become one of the biggest social media trends, catching attention on platforms like Instagram and YouTube Shorts. These videos move forward and backward in sequence, creating a loop effect that looks both engaging and entertaining. Many users are eager to learn how to make these edits and enhance them with professional AI-powered effects.
In this detailed guide, we will walk you through the step-by-step process of creating the best forward and reverse edits using CapCut, along with tips on adding advanced AI enhancements for a polished, professional look.
Table of Contents
What You Need Before Starting
Before diving into the editing process, ensure you have the following:
- CapCut Application
- Download the latest version of CapCut from your app store.
- Ensure it is updated to access the newest tools and features.
- High-Quality Video
- Use a video clip that is at least 10–20 seconds long.
- The better the resolution and clarity, the more professional your edit will look.
Step-by-Step Guide to Making a Forward Reverse Edit in CapCut
1. Import Your Video
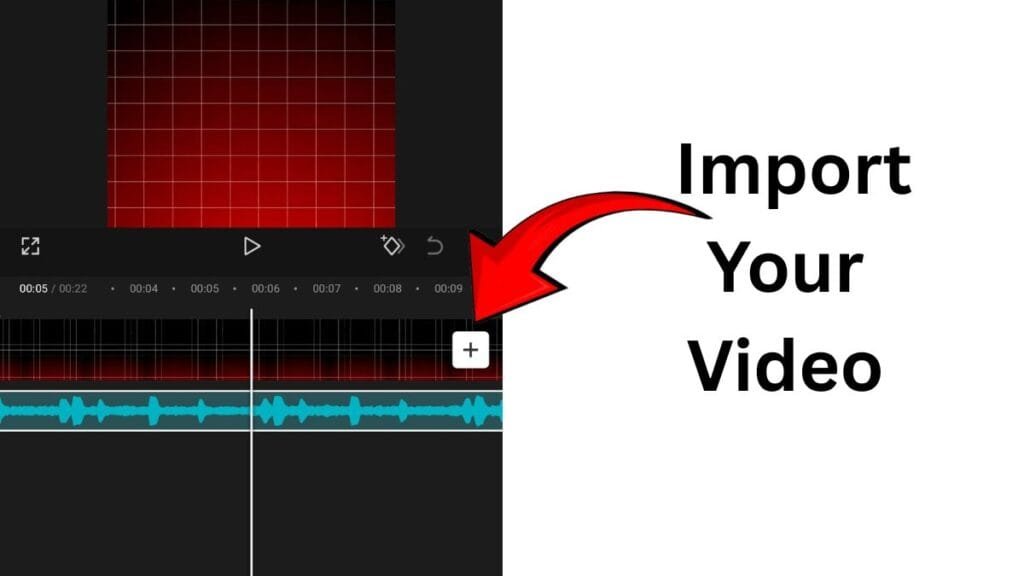
- Open CapCut and create a new project.
- Select your desired video clip from your gallery.
- Ensure the video is properly framed and free from unnecessary elements.
2. Trim and Cut the Video
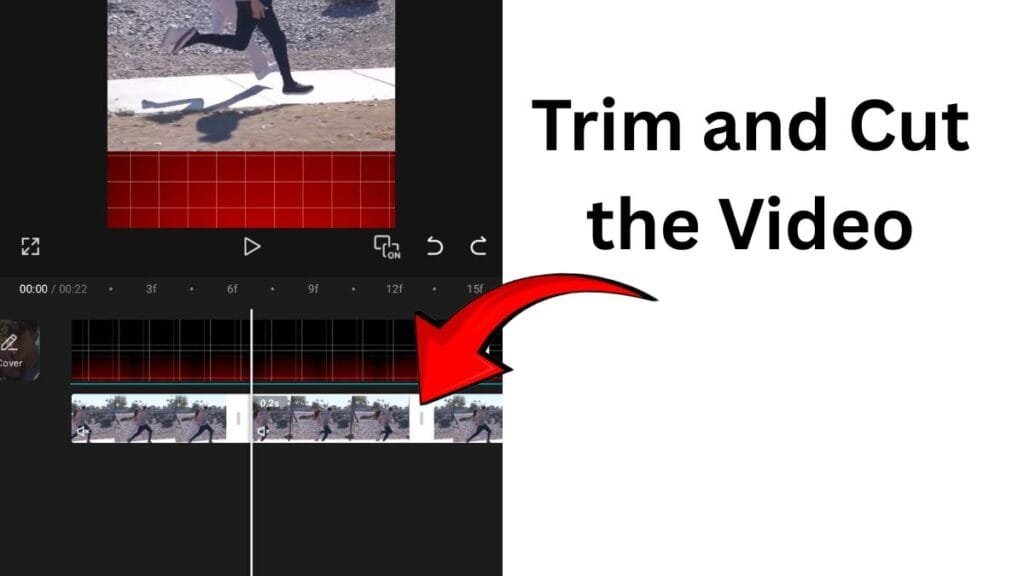
- Use the trim tool to remove unwanted portions at the beginning or end.
- Keep only the section you want to reverse for the smoothest looping effect.
- Short, dynamic clips often work best for this trend.
3. Copy and Paste Clips
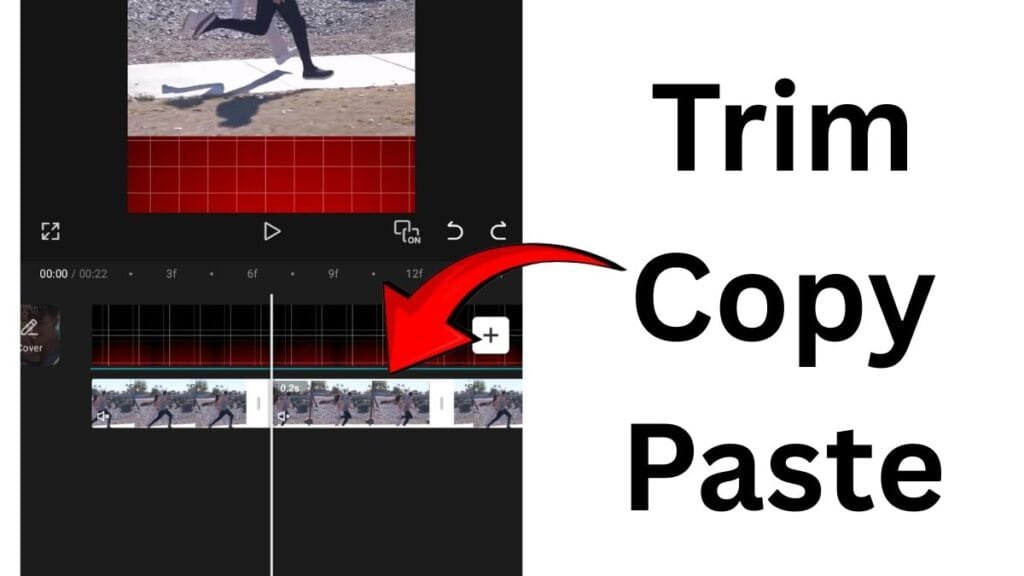
- After trimming, use the copy and paste option to duplicate the video segment.
- Arrange the clips so that one plays forward and the next one plays backward.
- Repeat this process multiple times to create a continuous forward-reverse loop.
4. Apply the Reverse Effect
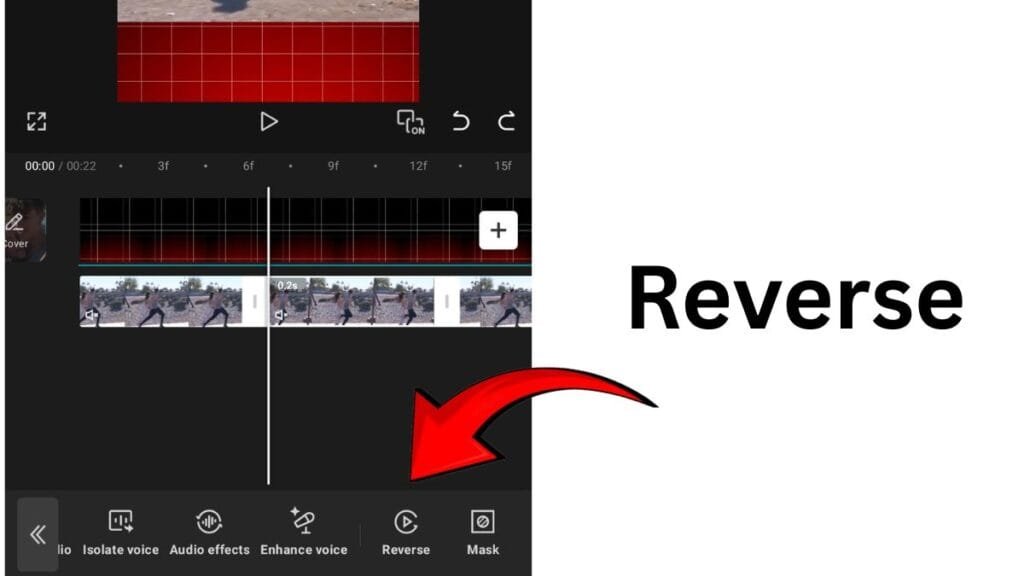
- Select the duplicated clip.
- Use the reverse function in CapCut to make it play backward.
- Ensure that the transition between forward and reverse clips feels seamless.
5. Match the Music with Your Edits
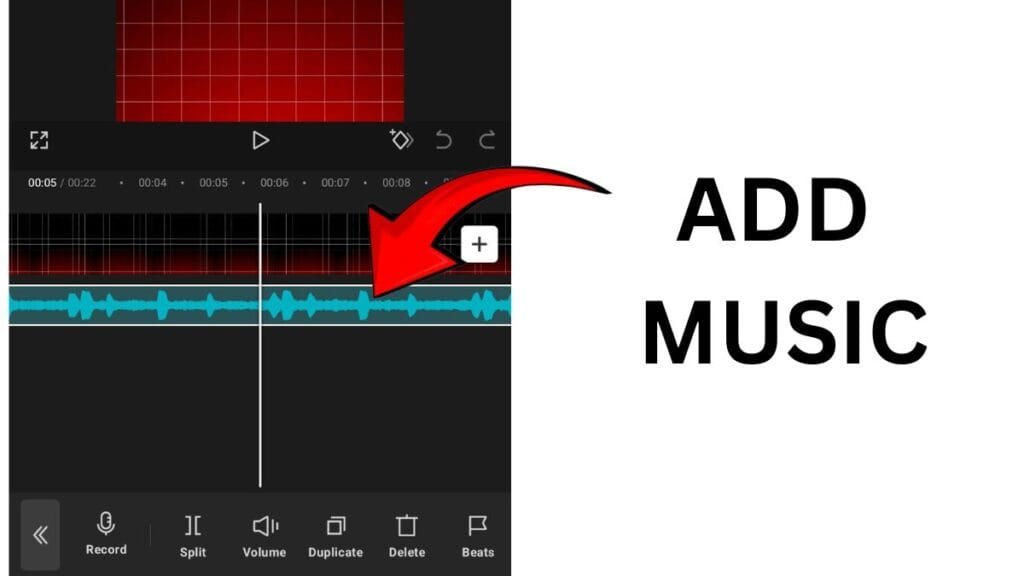
- Import a trending soundtrack or a song that matches the rhythm of your clip.
- Adjust the placement of your clips to synchronize with the beats.
- Adding beat-aligned cuts creates a professional, polished finish.
6. Fine-Tune the Transitions
- Add smooth transitions between the forward and reverse clips.
- Experiment with fade-in, fade-out, or glitch effects for a dynamic look.
- Adjust the clip duration to match the flow of the music.
How to Add Professional Effects Using AI
To make your forward reverse edit truly stand out, integrate AI-powered enhancements. Here are some of the best methods:
1. AI Filters and Effects
- Use AI-based video apps like Remini, Runway, or CapCut AI effects.
- Enhance skin tone, background, or color grading with one tap.
- AI-generated cinematic filters can give your video a film-like aesthetic.
2. AI-Powered Motion Tracking
- Use AI tools to track subjects and add animated text or stickers that move with the video.
- This adds a layer of interactivity to your forward reverse edit.
3. AI Transitions
- Tools like CapCut AI or Adobe Premiere AI allow auto-generated transitions.
- AI suggests smooth cuts, glitch movements, or morphing effects that enhance creativity.
4. AI-Powered Music Sync
- Use AI-driven beat detection to automatically align video cuts with background music.
- Perfect for forward reverse edits where rhythm is everything.
5. Background Replacement with AI
- If your original background is too plain, use AI tools to replace it with dynamic settings like cityscapes, neon lights, or cinematic skies.
- This makes the edit visually more appealing without manual masking.
Best Tips for Creating Viral Forward Reverse Edits
- Keep it short and engaging: Social media users prefer clips under 30 seconds.
- Focus on one subject: Avoid cluttered backgrounds or too many moving objects.
- Use trending sounds: Pair your edit with viral TikTok or Instagram music.
- Experiment with speed: Play around with slow-motion or fast-forward effects before reversing.
- Consistency matters: Maintain smooth transitions between forward and reverse clips.
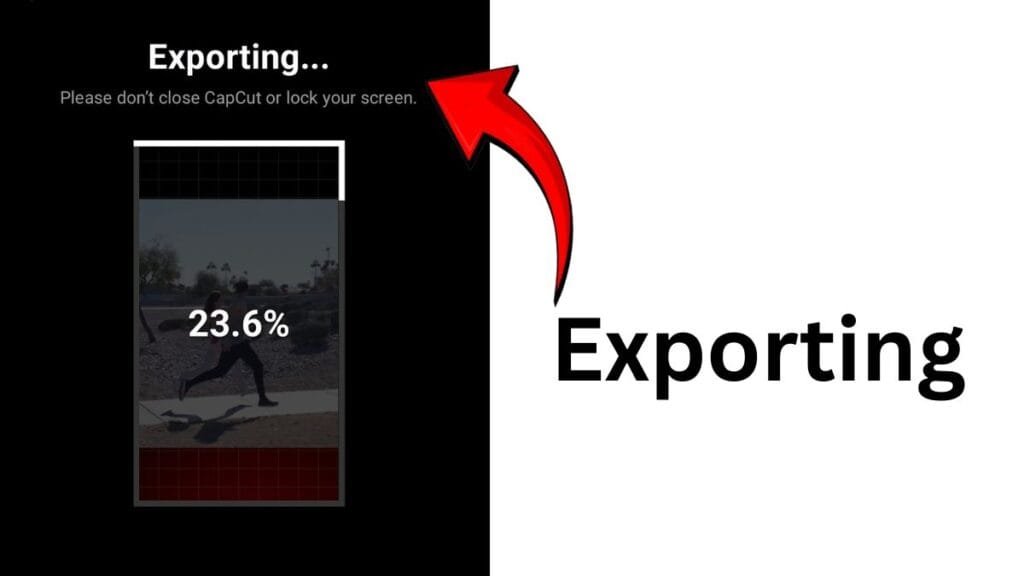
Exporting and Sharing Your Final Edit
Once satisfied with your forward reverse video:
- Export in High Quality
- Choose at least 1080p HD resolution.
- Set the frame rate to 30fps or 60fps depending on the platform.
- Optimize for Social Media
- Use vertical format (9:16) for TikTok, Instagram Reels, and YouTube Shorts.
- Keep the file size optimized for quick uploads.
- Add Captions and Hashtags
- Include trending hashtags like #ForwardReverseEdit, #CapCutEdit, #ReverseTrend.
- Captions with call-to-action phrases encourage more interaction.
- Post at the Right Time
- Share during peak engagement hours on your target platform.
- Monitor analytics to find when your audience is most active.
Conclusion
Making a forward reverse edit is easy, but when done right, it has a big impact. Everyone can create this popular effect with just CapCut and a high-quality video. You can turn a simple edit into a high-end video that makes an impression on social media by enhancing it with AI-powered tools.